How to Backup and Restore Your Codelia CMS Site: A Complete Guide
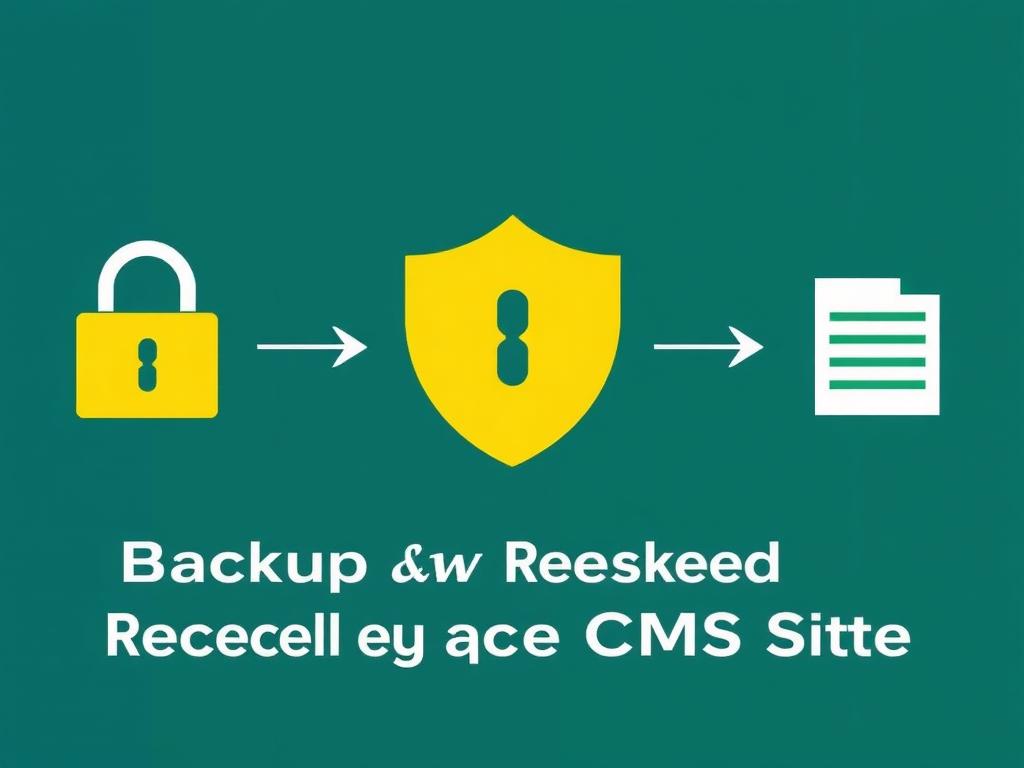
Managing a website built on Codelia CMS comes with its unique set of responsibilities. Among the most important tasks is ensuring that your site is backed up regularly and that you know how to restore it when needed. Whether you’re updating plugins, migrating your site, or simply safeguarding your valuable content from potential data loss, mastering the art of backup and restoration is essential. In this article, we will explore step-by-step how to backup and restore your Codelia CMS site efficiently, providing you with the peace of mind that your website is always secure.
Why Backup Your Codelia CMS Site?
Backing up your Codelia CMS site is not just a good practice; it’s a necessity. Several situations can lead to data loss: hacking, accidental deletion, server crashes, or even upgrades gone wrong. By creating regular backups, you ensure that you have a secure copy of your website’s files and databases that can be restored quickly.
Think about it — hours of work, content creation, and customization could vanish in seconds without a backup. Backing up protects your SEO settings, page layouts, media files, and user data. In the next sections, we’ll explain the best tools and methods for creating backups.
What to Include in Your Backup?
Before jumping into the backup process, it’s crucial to understand what needs to be saved.
- Website Files: These include all your themes, plugins, media uploads, and core CMS files.
- Database: This is where all your content, user profiles, and site settings are stored.
- Configuration files: Sometimes, special files contain specific server or environment configurations.
A comprehensive backup includes both files and the database. If you only back up the files without the database or vice versa, restoring your site will be incomplete.
Typical Backup Components for Codelia CMS
| Component | Description | Location |
|---|---|---|
| Website Files | The theme, plugins, media uploads, and system files | /public_html/ or your root folder |
| Database | Contains all site content and settings | Managed via MySQL or your host’s database tool |
| Configuration Files | Custom settings for your server or CMS environment | Typically inside root folders, e.g., config.php |
How to Backup Your Codelia CMS Site Step-by-Step
Now that you know what to back up, let’s dive into the practical steps. Backing up your Codelia CMS site can be done manually or using automated tools.
Manual Backup Process

Manual backups provide you with full control and insight into what’s being saved.
- Backup Website Files: Use an FTP client like FileZilla to connect to your hosting server. Download all public files inside your root folder (where Codelia CMS is installed) to your local computer. This will include the ‘wp-content’-style folders in Codelia, themes, plugins, and uploads.
- Export the Database: Log in to your hosting control panel and open phpMyAdmin or any database management tool. Select your Codelia CMS database, click ‘Export,’ and save the SQL file to your computer.
- Save Configuration Files: Don’t forget to download any unique config files, such as config.php, .htaccess, or environment-specific files.
Using Backup Plugins or Extensions
Codelia CMS supports various plugins designed to simplify backups. Using one ensures backups are consistent and stored safely on remote locations like cloud storage.
- Install a backup plugin: Search your Codelia CMS dashboard for backup extensions.
- Configure backup frequency: Set daily, weekly, or monthly backup schedules depending on how often you update your site.
- Choose database and file backup options: Select comprehensive backups that include files, database, and settings.
- Set up remote storage: Connect your backup to services like Google Drive, Dropbox, or Amazon S3.
Best Practices for Backing Up Your Codelia CMS Site

When it comes to backups, following best practices will save you from headaches later.
- Regular Backups: Schedule backups at intervals that match your site’s update frequency.
- Multiple Storage Locations: Don’t keep all backups on your hosting server; use external cloud storage for redundancy.
- Verify Backups: Periodically check that your backup files are complete and not corrupt.
- Document the Process: Maintain a backup log to track when and how backups were made.
How to Restore Your Codelia CMS Site
Restoring a site can seem intimidating, but with practice, it becomes straightforward. Whether you’re reverting from a broken update or recovering from a crash, the steps below will guide you through restoring your site fully.
Step 1: Prepare Your Environment
Make sure the hosting environment is ready and compatible with your backed-up version of Codelia CMS. Create a new database if necessary or clear the existing one.
Step 2: Upload Website Files
Using your FTP client, upload all the website files from your backup to your server’s root directory. Overwrite existing files carefully.
Step 3: Restore Database
Open your database manager (phpMyAdmin or equivalent). Import the SQL backup file into your destination database. Ensure that the database credentials in your config.php file match this database.
Step 4: Check Configuration Files
Verify that configuration files like config.php are correctly set up with your server details, database name, username, and password.
Step 5: Test Your Site
Finally, visit your website to confirm everything is functioning as expected. Clear any caching, log in to your dashboard, and navigate through pages to ensure validity.
Troubleshooting Common Backup and Restore Problems
Despite following the procedures, you might face some hiccups:
- Corrupt Backup Files: Make sure your backup process completes without errors. Test backup files by restoring in a staging environment first.
- Database Import Errors: Check SQL compatibility and increase import size limits on phpMyAdmin if needed.
- File Permission Issues: Incorrect file permissions might prevent your CMS from functioning. Set correct permissions (e.g., 755 for directories, 644 for files).
- Configuration Mismatches: Ensure config files match the restored database and server environment.
Automating Backup and Restore – Save Time and Effort
If you want to spend less time worrying about backups and focus more on your content, consider automating the process entirely. Many hosting providers offer integrated backup solutions for CMSs like Codelia, allowing scheduled backups with one click and effortless restoration.
| Automation Tool | Key Features | Best Used For |
|---|---|---|
| Hosting Provider Backup | Automatic daily backups, one-click restore | Beginners and non-technical users |
| Codelia CMS Backup Plugin | Scheduled backups, cloud storage integration | Site owners comfortable using CMS plugins |
| Third-Party Backup Services | External cloud backups, advanced scheduling, monitoring | Large sites with complex needs |
By automating backups, you minimize human error and ensure your site is protected even if you forget to run manual backups.
Final Tips for Successful Backup and Restore
When backing up and restoring your Codelia CMS site, keep these pointers in mind:
- Always test restore processes in a staging environment before doing it on the live site.
- Keep multiple backup versions so you can rollback to different points in time.
- Document your configuration settings outside the CMS for easy reference.
- Regularly update your backup tools and CMS to avoid compatibility issues.
Conclusion
Backing up and restoring your Codelia CMS site doesn’t have to be complicated or overwhelming. By understanding what to back up, following a clear step-by-step approach, and adopting best practices, you can protect your site against data loss or mishaps. Whether you choose manual backups or automated solutions, securing your content is a crucial investment in your website’s longevity. Remember, a good backup plan is your safety net — it saves you time, reduces stress, and keeps your site running smoothly no matter what happens. Start today, and make backup and restoration a regular habit for your Codelia CMS site.

